Complete Guide to Using Vyapar App
Posted on |
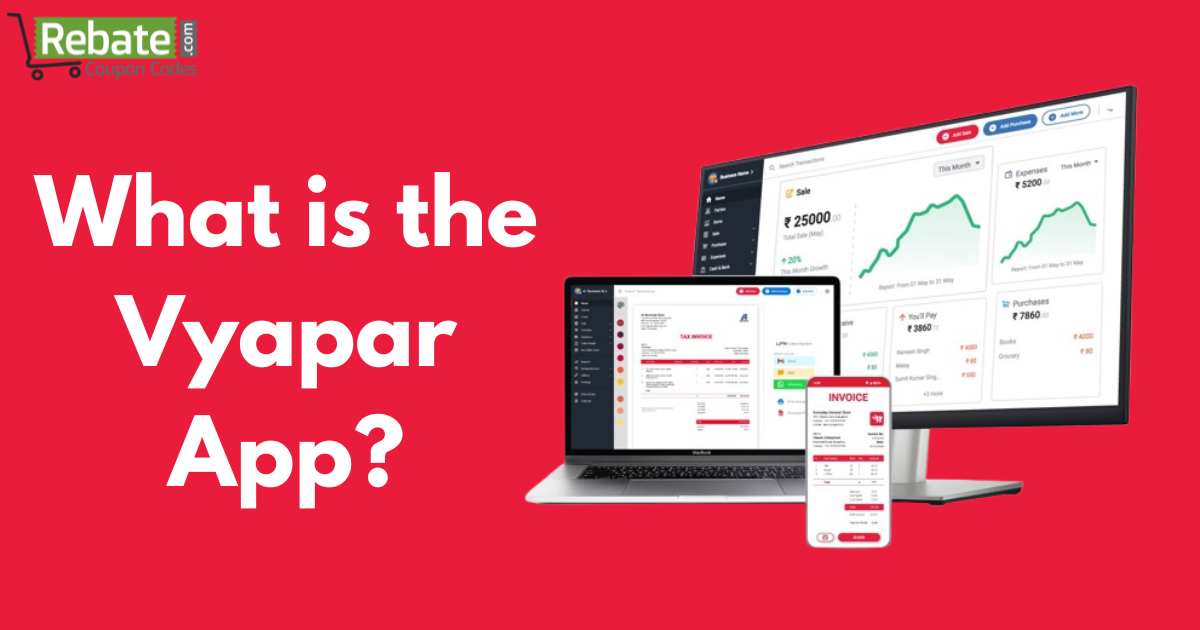
Vyapar App is one of the most popular billing and accounting software solutions for small businesses in India. It allows you to create invoices, manage inventory, generate e-way bills, handle GST reports, and track payments — all in one place. Below is a complete guide explaining every major function of the Vyapar App.
1. What is the Vyapar App?
Vyapar App is a business accounting and billing software designed for small and medium enterprises (SMEs). It helps users manage sales, purchases, inventory, expenses, and GST billing with ease. You can use it on mobile, desktop, or laptop.
2. How to Set Up the Vyapar App
- Download the Vyapar App from the Google Play Store or the official Vyapar website.
- Open the app and sign up using your mobile number or email ID.
- Enter your business details like name, address, GSTIN, and logo.
- Choose your business type (retailer, wholesaler, service provider).
- Set up your tax preferences and invoice format.
Your business dashboard will now be ready for use.
3. How to Use Vyapar App
Vyapar App offers modules for billing, inventory, expenses, reports, and more.
- Dashboard: Get an overview of sales, purchases, and profits.
- Transactions: Create invoices, purchase bills, and quotations.
- Reports: Check GST reports, balance sheets, and profit-loss.
- Backup: Regularly back up your data to Google Drive or local storage.

4. How to Create an E-Way Bill in the Vyapar App
- Open the invoice you want to generate the e-way bill for.
- Tap on the “Generate E-Way Bill” option.
- Fill in transporter details, distance, and vehicle number.
- Click Generate, and Vyapar will create an e-way bill via the E-Way Bill portal (integrated API).
- Download or print the E-Way Bill directly from the app.
5. How to Generate an E-Invoice in the Vyapar App
- Open the Sales Invoice you’ve created.
- Tap the “Generate E-Invoice” option.
- Verify details like buyer GSTIN, invoice date, and amount.
- Click Generate, and Vyapar will connect to the GST portal to create an IRN (Invoice Reference Number).
- Download the e-invoice PDF with QR code.
6. How to Make a Tax Invoice Bill in the Vyapar App
- Go to Sales → Create Invoice.
- Select a customer, add products or services, and apply GST rates.
- The system will automatically calculate CGST, SGST, or IGST.
- Save and print the bill — it becomes a valid GST Tax Invoice.
7. How to Upload a Purchase Bill in the Vyapar App
- Go to Purchase → Add Purchase Bill.
- Enter supplier details and upload the purchase bill image or PDF.
- Add purchased items, quantity, and tax details.
- Save the purchase bill for records and reporting.
8. How to Use the Vyapar App on a Desktop / Laptop
- Visit vyaparapp. in
- Download the Vyapar Desktop version (Windows).
- Install and open the app, log in with your account.
- Sync your mobile data using the same account or backup.
- Start creating invoices, managing inventory, and generating reports from your laptop or desktop.
9. How to Use the Vyapar App on Mobile
- Download the app from the Play Store.
- Complete setup and start billing.
- Use the + (plus) button to create sales, purchase, or quotation entries.
- Manage customers, items, and payments right from your smartphone.
10. Vyapar App Demo in Kannada
You can watch Vyapar App demo videos in Kannada on YouTube (official Vyapar channel). Just search “Vyapar App Demo in Kannada” for step-by-step tutorials explaining billing, GST setup, and report generation.
11. Vyapar App is Free or Not
Vyapar App offers both Free and Paid (Premium) versions.
- Free version: Basic billing and inventory features.
- Premium version: Includes e-invoice, e-way bill, GST reports, multi-user access, and data backup.
Subscription plans are affordable for small businesses.
12. Vyapar App Journal Entry
To record manual accounting entries:
- Go to Accounts → Journal Entry.
- Add debit and credit accounts (e.g., Cash, Sales, Expense).
- Enter the amount and narration.
- Save to maintain proper bookkeeping.
13. Vyapar App Me 2 Company Kaise Banaye
- Go to the Menu → Switch Company → Add New Company.
- Enter the second business details.
- Save and switch between companies anytime using the same app.
14. Vyapar App Me Excel Kaise Banaye
Vyapar allows you to export reports and invoices in Excel format.
Go to Reports → Select Report → Export → Excel (.xls).
You can view or share it using Microsoft Excel or Google Sheets.
15. Vyapar App Me GST Bill Kaise Banaye
- Go to Sales → Create Invoice.
- Add the customer’s GST number.
- Select items and apply GST rate (5%, 12%, 18%, or 28%).
- Save and print — the invoice will show GST breakup automatically.
16. Vyapar App Me Item Add Kaise Kare
- Open Items → Add Item.
- Enter item name, category, purchase price, sale price, and GST rate.
- Save to add it to your product list.
In Mobile: Tap the “+ Add Item” button on the main screen, then fill in details and save.
17. Vyapar App Me Proforma Invoice Kaise Banaye
- Go to Sales → Create → Proforma Invoice.
- Add customer and product details.
- Save and share with your client before final billing.
18. Vyapar App Me Quotation Kaise Banaye
- Open Sales → Create Quotation.
- Enter customer name, product list, and rates.
- Save and send via WhatsApp, email, or print.
19. Vyapar App Me Sale Kaise Kare
- Go to Sales → Create Invoice.
- Choose a customer, add items, apply discounts, and taxes.
- Save to complete the sale — the app updates your stock automatically.
20. Vyapar App Sales Entry
Each sale you make creates a Sales Entry.
You can view it under Reports → Sales Summary to track total revenue, GST, and outstanding payments.
21. Vyapar Billing Software Kaise Use Kare
Vyapar billing software is very easy to use.
- Create bills and invoices in seconds.
- Manage inventory, customers, and suppliers.
- Generate GST reports and file returns.
- Track expenses and profits automatically.
It’s an all-in-one accounting tool for Indian businesses.
✅ Conclusion
The Vyapar App simplifies business management by combining billing, accounting, inventory, and GST features in one platform. Whether you’re a retailer, wholesaler, or service provider, Vyapar helps automate your daily transactions efficiently — on mobile, desktop, or laptop.